Watercooled, 10-Node, Home Kubernetes cluster
I recently went through the process of building myself a new home Kubernetes cluster. This in and of itself isn’t anything too novel, but I think the hardware portion was a fun journey. I decided I was done hosting a cluster in the cloud, it was fun to help keep up my skills polished when I wasn’t using it as often professionally. For the past ~6 years though I have been using it professionally almost every day, so I decided it would be more fun to tinker with on prem and stand up a local 10 node cluster using the Orange Pi 5 16GB for my nodes. Furthermore, I wanted to have this setup look appealing, so I could put it on display, and I wanted it watercooled.
That last point is where I wanted to take advantage of how nice a watercooling loop can look and plus it should allow the cluster to run pretty much dead silent and keep cool.

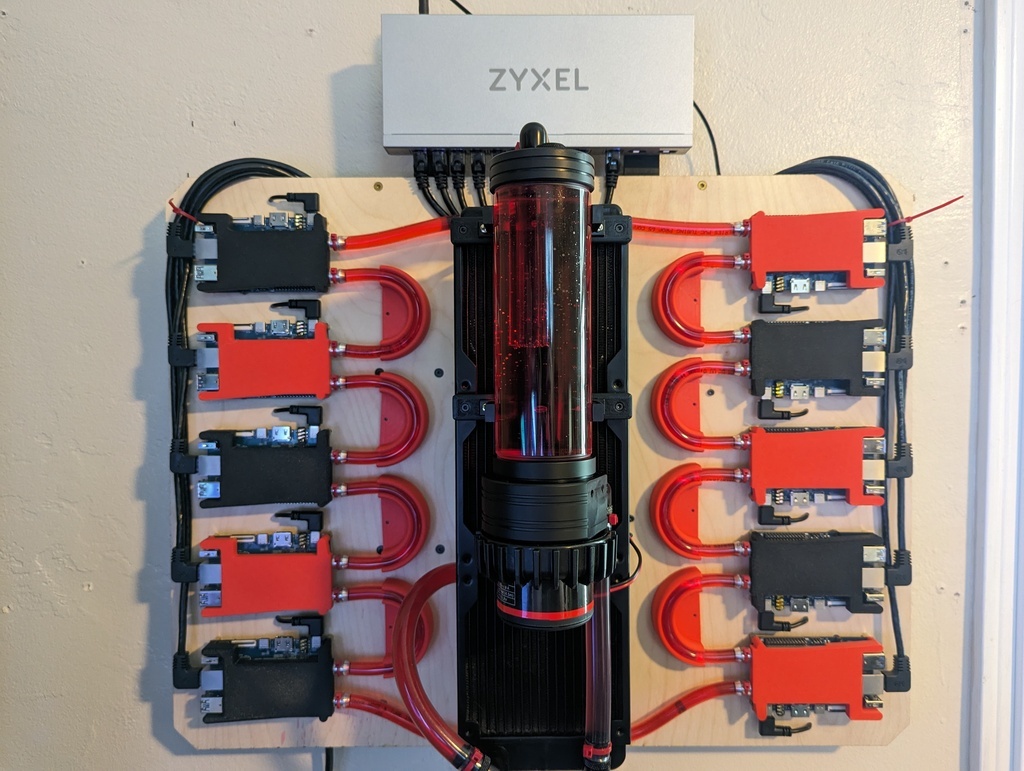
Final cluster mounted to wall
Planning stages
To give you an idea how far back I wanted to start this, the Orange Pi 5 was still on pre-order from Aliexpress. I am glad I did buy them at that point as they have only gone up in price since. These appealed to me for a few reasons.
- 8 cores of CPU
- 16GB of memory
- Dedicated NVME
- No wifi or bluetooth
- Still has a GPIO header to tinker with
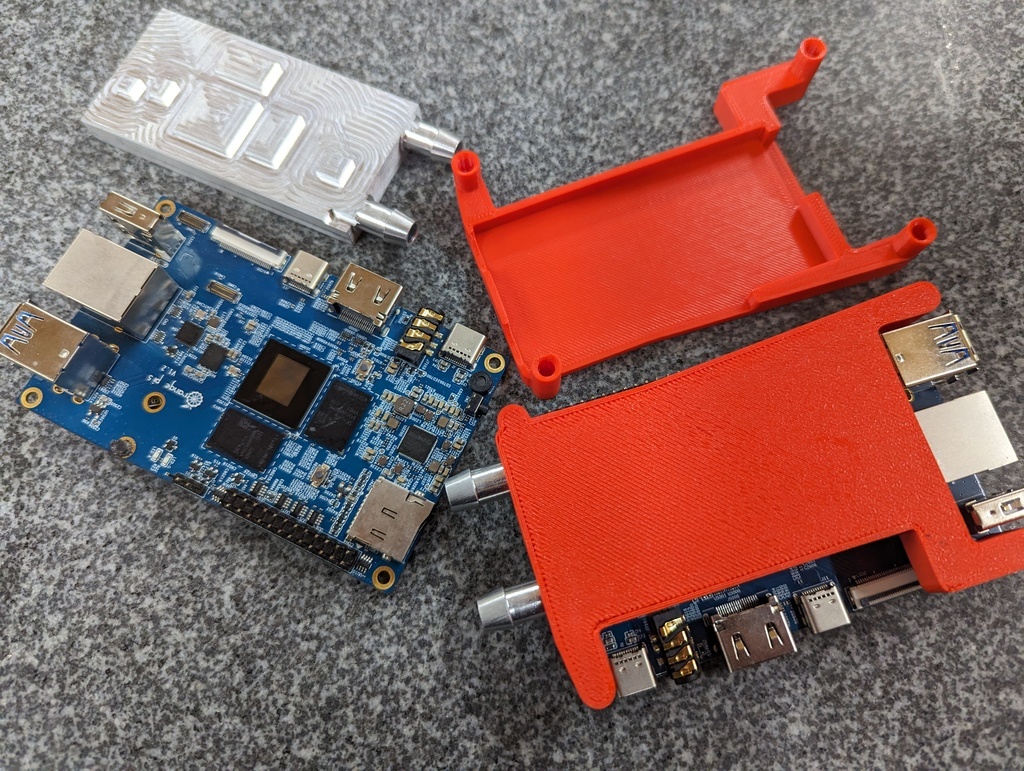
I went about planning how to physically lay out the cluster, my original thought was stacking the SBCs with a 3D printed case. This case would leave room for a 40mmx80mm waterblock that would make contact with the main SoC, memory, ethernet chip, USB bridge, and power bridge. It would also be open on top as to allow it to make contact with the NVME disk on the SBC above it. Keep in mind cooling ALL of these components is totally unnecessary, but I figured why not?!
My initial prototype was not turning out like I wanted, and I was struggling to figure out how to essentially clamp the stack to ensure good contact with all the components while also making sure it wouldn’t fall apart. I also was struggling with the hairpin turn for connecting the tubing.
I eventually abandoned the above idea in favor of laying them out on a board, which would also house the radiator, fans, PSUs, and switch. Making this something that takes two connections, power and ethernet, to connect to the world. This layout did unfortunately abandon the idea of cooling the NVME disks, I might revisit that later.
Execution of hardware
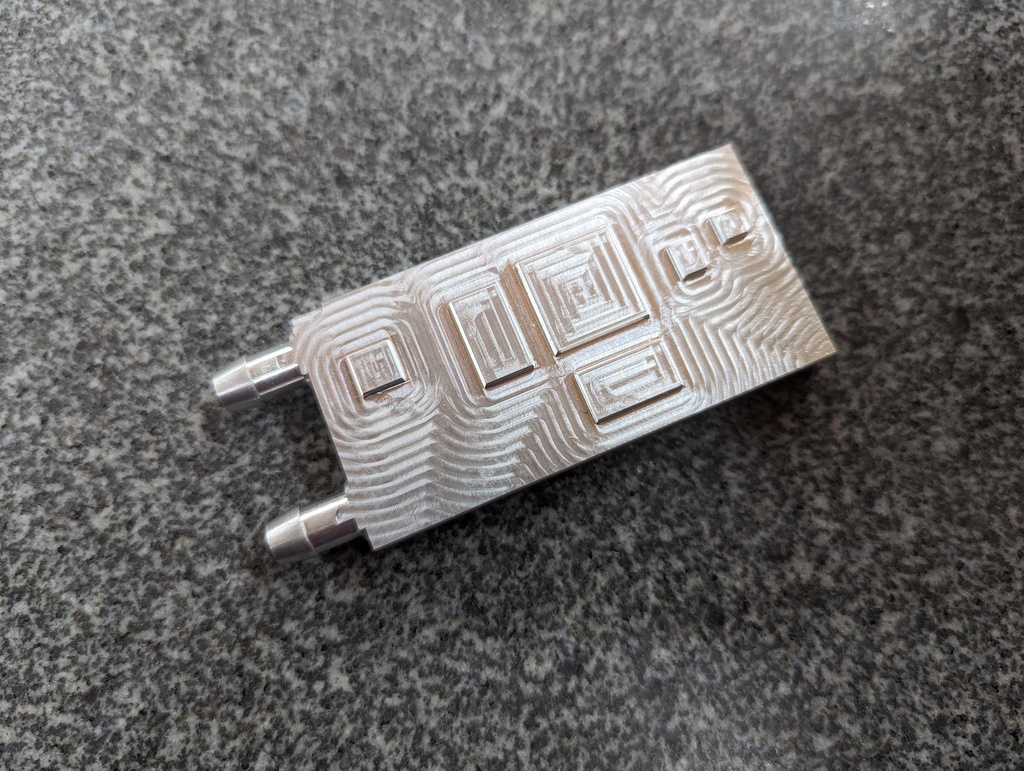
You might be wondering how I plan to get these 40mmx80mm waterblocks to actually work with the Orange Pi. I initially thought I could get some thermal pads of varying thickness. and this worked to an extent, but I was having a difficult time getting good squish on the pads. Then I thought, why not mill the blocks? I have access to a CNC mill and some CAM skills. I went through a lot of these blocks trying to get it right.

Machined waterblock
There were inconsistencies with each block, the internal piping was not in the center, some had leaks, and I was still figuring out the Tormach 700m and milling with a 1/8" endmill.
Eventually I landed on some tool paths that were giving me consistent results, and barring leaky blocks were coming out nicely. All surfaces that were touching the part were machined, and when the waterblock was mounted without thermal paste I wasn’t able to fit a 0.05mm feeler gauge in the space, so I was happy that I was likely going to have very good contact.
It was at this point I started to tinker with stress testing the SBC to get some
baseline thermals and performance. I used stress-ng for this to put some pressure
on the CPU and memory and warm it up. I found that the SoC appeared to throttle
above 60C, with at least one extra step above 80C. I ran stress-ng with a 2-minute
timeout. The highlights of the tests were:
| Cooling | Temp in C | bogo ops score |
|---|---|---|
| No cooling | 85 | 81498 |
| Regular heatsink and fan | 72 | 87715 |
| Custom waterblock dry | 47 | 92434 |
| Custom waterblock filled | 31 | 93441 |
You can see the score for the last two is definitely within margin of error, so I think that below 60C it is not throttling, thus those two results have no real performance gain but it does run cooler which can help with longevity.
With confirmation in hand I went on to buy the rest of the parts for the build.

Various pieces of the unit
The hardware build
First a list of the hardware we need to make this all work.
- 10x Orange Pi 5 16GB
- 10x Custom milled waterblocks
- 10x right angle USB-C pigtails for power
- Tubing
- 360mm radiator (aluminum)
- 3x 120mm Noctua fans with speed reducer
- Pump reservoir combo
- Switch with 10G uplink
- 5v 200w power supply for Orange Pis
- 12v 60w power supply for fans, pump, and switch
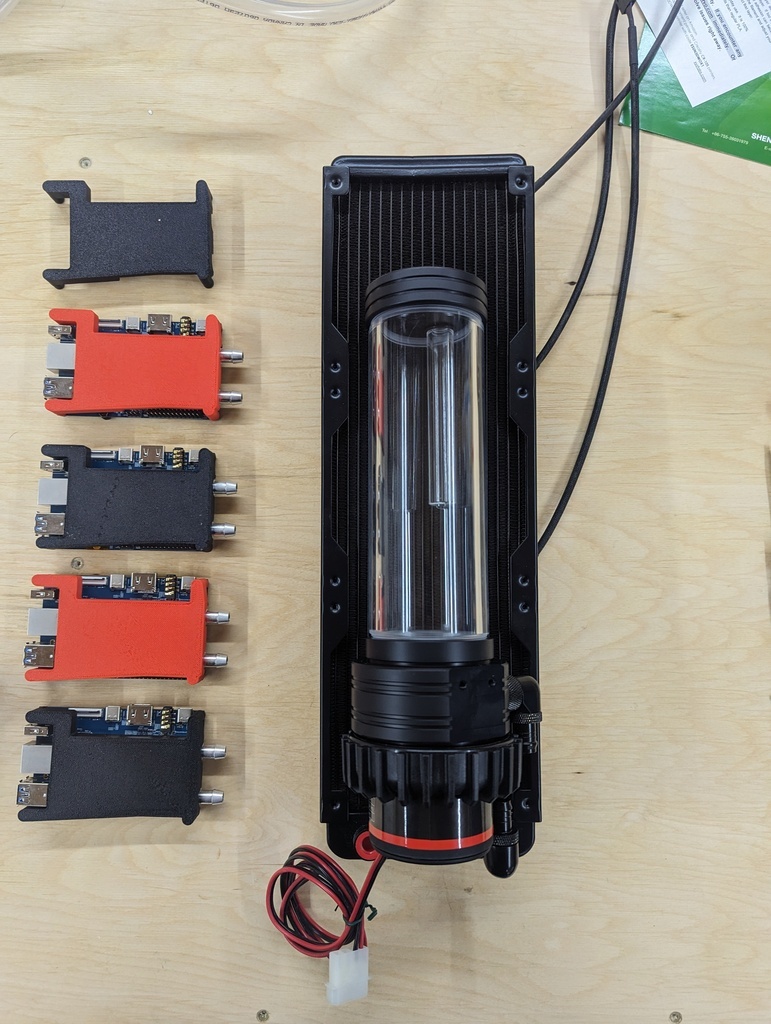
Now was time to really figure out how to lay this out, literally. I assembled 5 of the SBCs and started playing with the layout.

Laying things out
Once I had a layout I was happy with I carried on with the CAD for the backplate. I cut holes behind the radiator to allow air to flow to the back and cool the two PSUs as well.
I initially created a water distribution block that would just parallel all 10 of the SBCs, and it didn’t work as well as I’d hoped. I’m not one for fluid mechanics but looking back I do wonder why I thought that would work. I might have been able to get away with it if I had only done 5 per channel, but in the end I think putting 5 in series on each side not only worked much better it looks better.
Finally, it was just a matter of mounting it all to the backplate, connecting up the tubing, wiring everything to power, then firing it up! I did run into some trouble here, the bend was just a bit too tight for the tubing and it was just starting to kink. I printed some holders to keep the tubes from kinking but if I did this again I think I would space the boards out by another 2-3cm to give some room for the bend and to get my fingers in there to connect and disconnect power.
Overall I am super happy with how the hardware came out. I have it mounted on the wall behind me, it serves as a nice conversation piece when I meet new people in meetings or interviews.
What else?
While I do really like this setup there are a couple things I would like to add to it in the near future.
- Tiny OLED displays that give some basic stats on each node.
- I am currently working on this, I have the screens and am working on a 3D print to mount them to the backplate.
- I plan to run this as a Daemonset in Kubernetes, I’ve never piped GPIO pins into a pod!
- Make a new backplate that better incorporates the switch and spaces out the SBCs more
- Better T-junctions for the cooling loop
- Waterblock for the NVME disks
No idea if/when that will happen but it is on my mind. I’ll be making another post on the software side of this, with some links to my Ansible playbooks and my gitops repo for my Argo deployments.